Artwork & templates
Make room for
every little detail.
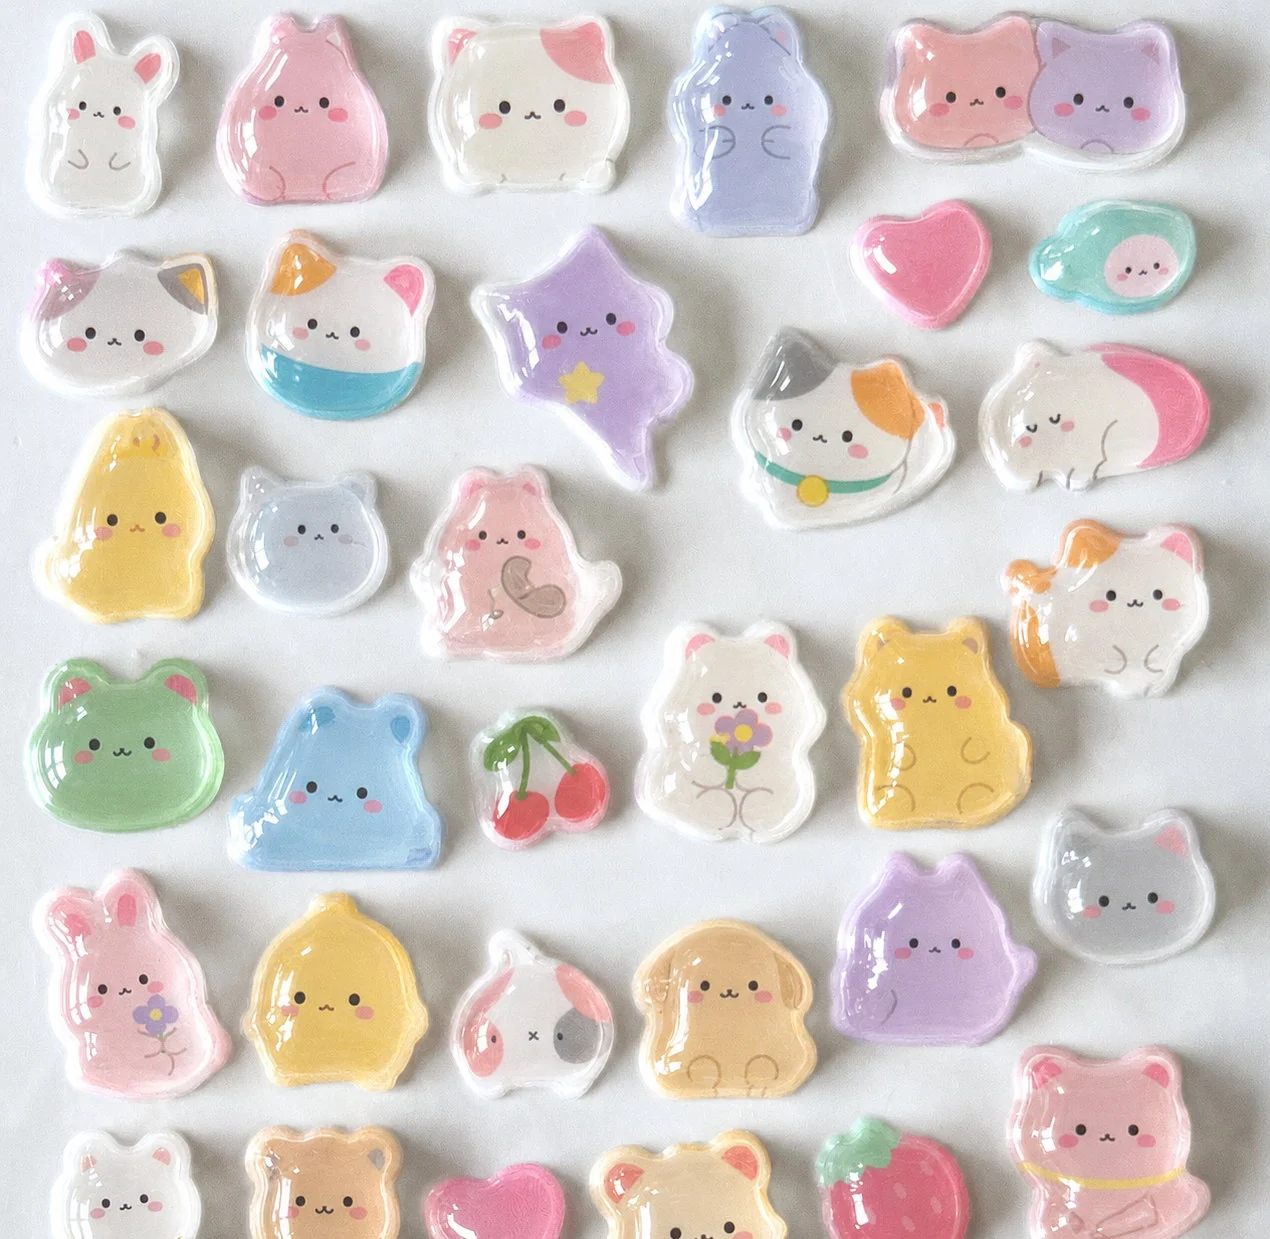
Start with your illustrations, logo or an arranged sheet. We prepare the production cut lines and white-ink layer for you.
The pack is in English, from the file and layer names to the two-page how-to guide, and matches the steps on this page.
01 / The canvas
One sticker area.
A taller paper backing.
Place your stickers within the 90×178 mm sticker area. The separate paper backing is 90×220 mm; the artwork template covers the sticker area, not the entire backing.
- Sticker area
- 90×178 mm
- Paper backing
- 90×220 mm
- Outer placement margin
- Keep the finished piece outlines at least 5 mm inside each edge of the sticker area.
- Spacing
- Use 4 mm or more between finished outlines as a layout guide.
- Piece size
- Approx. 10 mm minimum to 30–50 mm maximum as a guide, depending on shape, thickness and layout.
- Piece count
- Set by your artwork sizes and layout.
02 / Each individual sticker
Bleed outside.
Important details inside.
These measurements apply to each piece’s cut line. They are separate from the outer placement margin around the sheet.
Bleed beyond the cut line
Extend background colours and images outside the finished outline so small cutting variations do not expose an unprinted edge.
Safe area inside the cut line
Keep text, faces and other important details this far inside the finished outline.
Space between pieces
Measure the nearest distance between finished outlines. Where bleed areas overlap or shapes need more room, we fine-tune the layout for you.

For crisp results, keep lines at least 0.3 mm thick and round corners to a radius of at least 1 mm.
03 / Prepare & send
From template to quote in four steps.
Choose one editable template.
Unzip the pack and open either the SVG or the PDF file whose name begins “02_Place-artwork”. The document is already set to 90×178 mm. One file is all you need.
Place artwork on the right layer.
The SVG has four layers:
01_Guides_hide-before-sending,02_Artwork_place-here,03_White-ink_prepared-by-usand04_Cut-lines_prepared-by-us. Layers 03 and 04 can stay empty. If you set up your own print file, we recommend CMYK and text converted to outlines, with any white ink or cut lines on their own named layers. In the PDF, add your artwork on the white working area. Keep every finished piece outline inside the dotted line that marks the outer placement margin, with the spacing described above. The number of pieces follows your design; the layout image in the pack (“03_Layout-image-and-checks”) shows placement and spacing.Hide the guides, then save.
Hide the
01_Guides_hide-before-sendinglayer in the SVG, or delete the guide lines in the PDF, so the frame and dotted line stay out of your file. Save the editable file and export a PDF preview where your software allows. Embed images, convert text to outlines if you can, then reopen the PDF to check the page size, images and text.Share the file and your brief.
Attach the preview to the enquiry form, or send a viewable shared link for the editable files. Tell us the quantity, destination and intended use, and we prepare the final production data, including cut lines and the white-ink layer.
Working with images?
PNG and JPEG artwork is welcome. Aim for at least 300 dpi at the finished size. For the whole 90×178 mm sheet, that is approximately 1,063×2,103 pixels.
RGB files are welcome too. We convert them to CMYK for printing, so very bright or fluorescent colours (hot pinks, neon greens, vivid blues) can look slightly more muted. We prepare the final production file, with text converted to outlines and the artwork, white ink and cut lines on separate layers. You review the colour and resin finish on the physical sample included with your order.
Files & permissions
The enquiry form accepts up to 3 PNG, JPEG, WebP or PDF files, 5 MB combined. Use a shared link for Illustrator, SVG, PSD, ZIP or larger files.
Supply artwork you own or have permission to reproduce. For licensed characters, logos or third-party designs, obtain the relevant rights holder’s permission before production.
The template pack contains a README, a two-page how-to guide, editable SVG and PDF templates, and a layout image with checks before sending. Including a PDF preview helps us see your layout as you intended.
Still at the sketch stage?
Send what you have.
Share a rough idea, and we’ll explain what to prepare next.